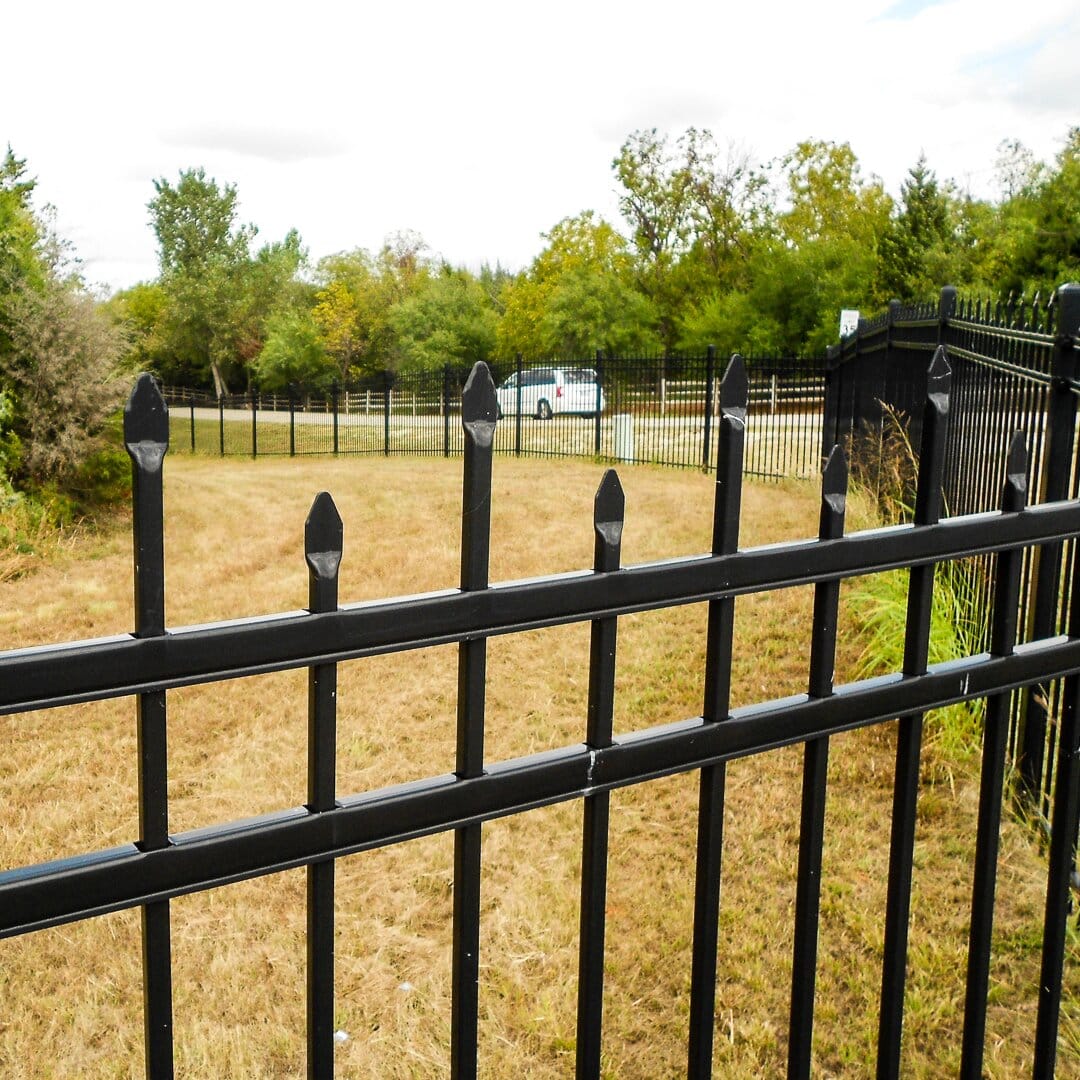
Welcome to the Logan Fence Company blog, where we believe that a fresh coat of paint can transform your fence and elevate the entire look of your property. In this DIY guide, we’ll share expert tips and techniques to help you achieve a professional-grade fence painting project that enhances both the appearance and durability of your fence.
Your fence is a significant part of your property’s exterior, and giving it a fresh coat of paint is an excellent way to revitalize its look. In this guide, we’ll walk you through the steps to achieve a professional finish with your DIY fence painting project.
Contents
Why Paint Your Fence?
Painting your fence serves several important purposes:
- Enhanced Appearance: A fresh coat of paint can transform the overall aesthetics of your property.
- Protection: Paint acts as a protective barrier against weather, UV rays, and moisture, prolonging your fence’s lifespan.
- Value: A well-maintained and painted fence adds value to your property.
Choosing the Right Paint
Selecting the appropriate paint is crucial for a successful project:
- Exterior Paint: Choose high-quality exterior paint designed to withstand the elements.
- Color Selection: Consider a color that complements your home’s exterior and landscaping.
- Finish: Opt for a semi-gloss or satin finish for easy cleaning and durability.
Preparation: The Key to Success
Proper preparation is essential for a smooth and long-lasting finish:
- Clean the Surface: Remove dirt, dust, and mildew with a pressure washer or scrub brush.
- Repair Damages: Fix any cracks, holes, or loose boards before painting.
- Protect Surroundings: Cover nearby plants, grass, and surfaces to prevent paint splatters.
Painting Techniques for a Flawless Finish
Achieve a professional look with these painting techniques:
- Use a Brush and Roller: A brush is ideal for intricate areas, while a roller covers large sections efficiently.
- Apply Even Coats: Ensure even coverage by applying paint in the same direction as the wood grain.
- Overlapping Strokes: Slightly overlap each stroke to avoid gaps in coverage.
- Work in Sections: Divide your fence into manageable sections for consistent results.
Maintaining Your Painted Fence
Regular maintenance will extend the life of your painted fence:
- Cleaning: Rinse off dirt and debris periodically.
- Inspect for Damage: Check for peeling paint or signs of wear and address them promptly.
- Touch-Ups: Perform touch-up painting as needed to maintain a fresh appearance.
FAQs About DIY Fence Painting
What is the best time to paint a fence?
The ideal time is during dry, mild weather when temperatures are between 50°F to 85°F.
How many coats of paint do I need?
Generally, one or two coats are sufficient. However, follow the paint manufacturer’s recommendations.
Can I paint over an old, peeling paint job?
Yes, but it’s essential to scrape off loose or peeling paint and sand the surface before repainting.
What tools and equipment do I need for fence painting?
You’ll need paintbrushes, rollers, drop cloths, a pressure washer, paint, primer (if necessary), and safety gear.
How long does painted wood fencing last?
With proper maintenance, a well-painted wood fence can last up to 10-15 years or more.
Conclusion: Transform Your Fence with Paint
With the right tools, techniques, and a bit of effort, you can transform your fence and enhance your property’s overall appeal. Logan Fence Company is here to help you achieve your DIY fence painting project’s success. If you have questions or need assistance, don’t hesitate to contact us. Happy painting!


