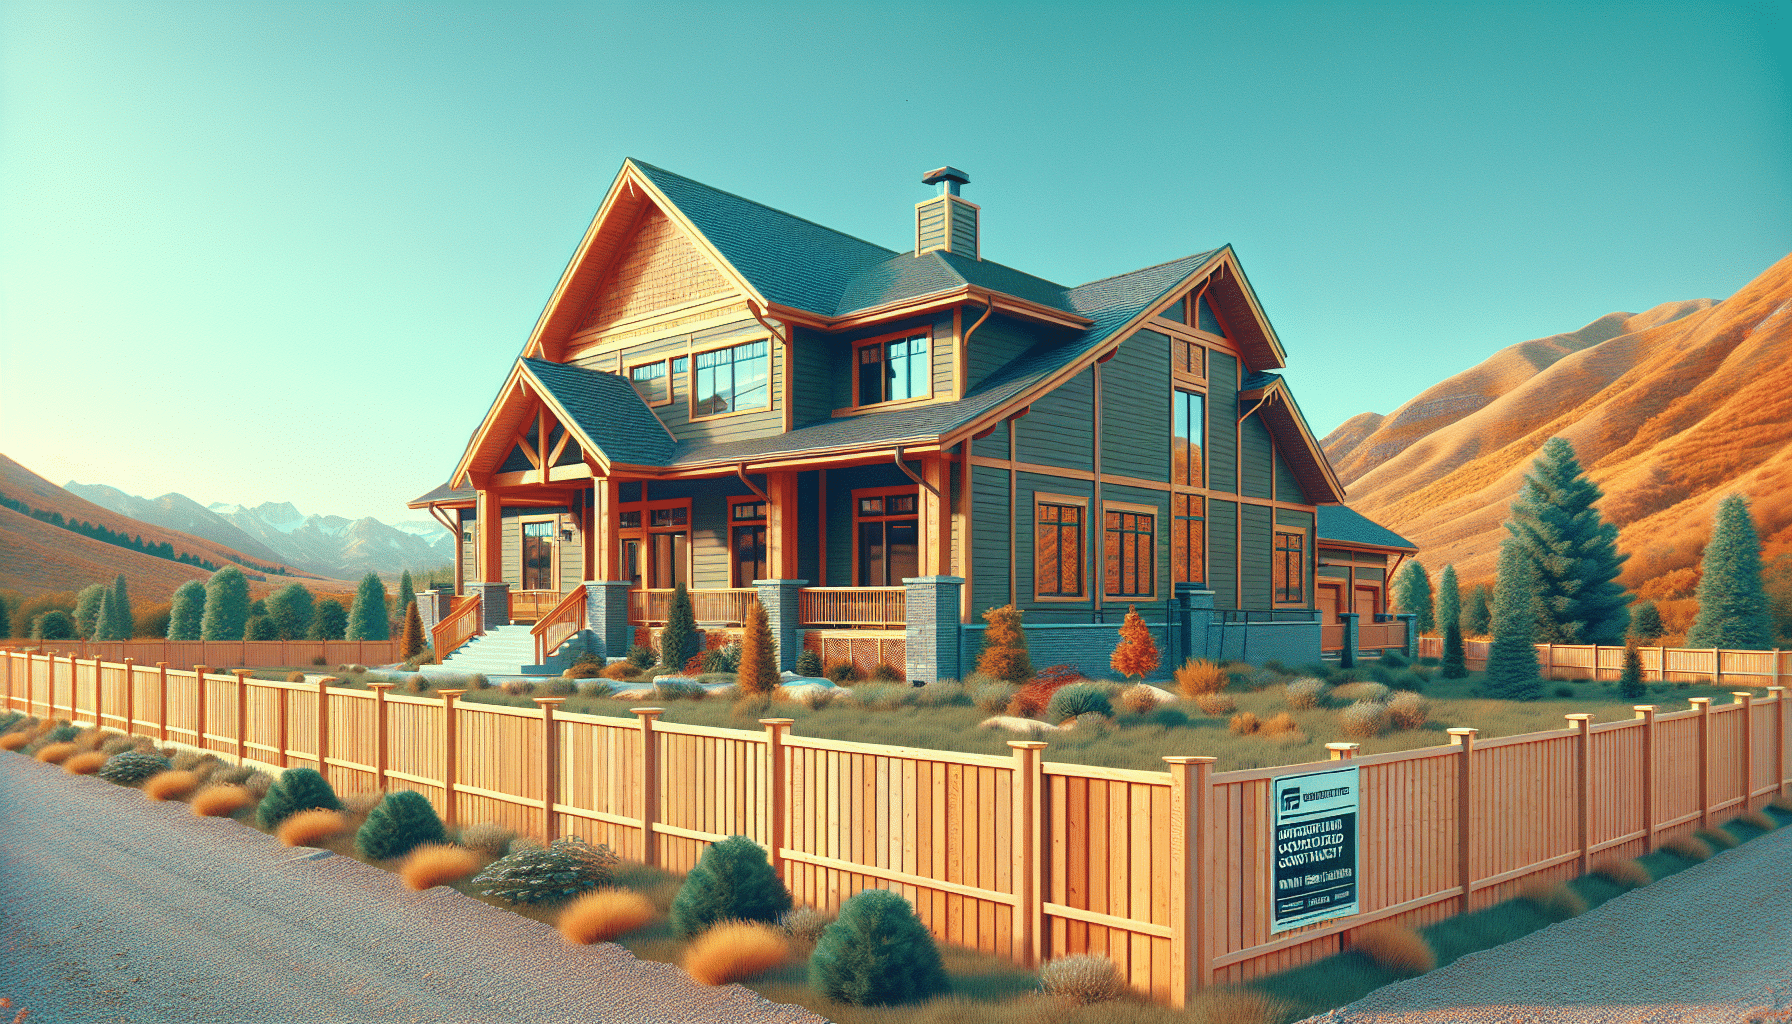
Installing a Wood Fence can seem daunting, but fear not. At Logan Fence Company, we understand the importance of a stylish, yet functional barrier for your property. With our expertise, we’ve assembled the ultimate guide for homeowners looking to embark on a DIY fence project. Whether it’s for privacy, protection, or curb appeal, we’ve got you covered every step of the way.
Contents
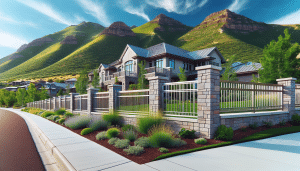
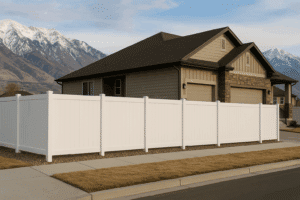
Why Choose Wood Fencing?
Wood fences are not just about marking your territory; they’re about combining functionality with aesthetic appeal. First off, wood is a versatile material that can be customized to fit any landscape or architectural style. Whether you prefer a rustic look or something more polished, wood can be tailored to suit your taste. Secondly, when maintained properly, wood fences can provide years of reliable service, making them a cost-effective choice for homeowners. Their natural look can also add to the overall value of your property, enhancing its appeal to potential buyers or just to those passing by.
Planning Your Wood Fence
Before you dig your first hole, planning is crucial. You’ll want to consider the purpose of your fence. Is it for privacy, pet containment, or purely decorative? The function will greatly influence the design. Next, check local building codes and homeowner association regulations, as they might affect the height, style, or material you can use. Understanding these requirements can save you from costly adjustments down the line.
It’s also essential to speak with your neighbors about your fencing plans, especially if the structure will be along property lines. Not only is this a courteous step, but it can also prevent disputes. Lastly, have your property surveyed to ensure your fence will be built on your land, avoiding legal issues with encroaching on neighboring properties.
Choosing the Right Materials
Picking the right materials is more than just selecting the best wood; it’s about ensuring your fence stands the test of time. Start by choosing a durable wood type, such as cedar or redwood, which resist decay and pests naturally. Then, consider the type of posts, panels, and hardware that will best support your design and withstand local weather conditions. Remember, investing in quality materials upfront can save you money on maintenance and replacements in the long run.
Additionally, think about the finish or stain you’ll apply to your wood fence. These can not only enhance the look but also provide an extra layer of protection against the elements. From clear seals that showcase the natural grain to solid stains that add a pop of color, the options are vast. Selecting the right finish can greatly extend the life of your wood fence and keep it looking great for years.
Gathering Your Tools
- Post Hole Digger: Essential for digging deep and uniform holes for your fence posts, ensuring a sturdy foundation.
- Level: A must-have to guarantee that your posts and panels are perfectly vertical and horizontal.
- Hammer or Nail Gun: Depending on your preference and the scope of your project, these tools will be necessary for securing your panels and other components.
- Saw: Required for cutting wood to size, a saw ensures your pieces fit your specific design measurements.
- Measuring Tape: Accuracy is key in fence building, and a measuring tape is an indispensable tool for getting your dimensions right.
Preparing the Site
Site preparation is a critical step. First, you’ll need to clear the fence line of any vegetation, debris, or obstacles to ensure a smooth installation process. This might involve cutting back bushes, removing old fencing, or leveling uneven ground with a spade or shovel. Clean, clear boundaries make it easier to measure, align, and install your fence accurately.
After clearing the area, mark the layout of your fence with stakes and string. This visual guide will help you align your posts accurately, ensuring a straight and well-structured fence. Ensuring your layout is precise before digging post holes can prevent costly mistakes and rework.
Setting the Posts
The stability of your wood fence hinges on the posts, so it’s crucial to set them correctly. After digging the holes using your post hole digger, set each post in place using concrete. This not only secures the post but also prevents decay by keeping the wood above ground moisture. Make sure each post is plumb and at the right height before the concrete sets.
Spacing your posts correctly is just as important. Posts that are too far apart can lead to sagging sections, while posts that are too close can make the fence appear crowded or waste materials. Typically, posts are set 6 to 8 feet apart, depending on the length of your panels and the overall design of your fence.
Installing Fence Panels
With your posts set, it’s time to attach the panels. Start from one corner and work your way along, using your level frequently to ensure each panel is perfectly horizontal. Securing the panels to the posts can be done with nails or screws, depending on the look and strength you prefer.
Remember to leave a slight gap between the ground and the bottom of your panels to prevent wood rot. This airspace allows for drainage and airflow, prolonging the life of your fence. If privacy isn’t a concern, this gap can be larger, which also reduces the risk of your fence being pushed over by strong winds.
Finishing Touches
Once all your panels are in place, applying a finish or stain can protect your fence from the elements and enhance its appearance. For best results, apply your chosen finish according to the manufacturer’s instructions, using a brush, roller, or sprayer for even coverage. It’s best to do this on a dry day when there’s no rain forecasted for at least 24 hours.
Adding caps to the tops of your fence posts can also provide a decorative touch while protecting the end grain from moisture. Installing gates, if needed, should be done with careful attention to hardware and alignment to ensure they open and close smoothly.
Maintenance and Care
Proper maintenance can extend the life of your wood fence exponentially. Regularly check for and repair any loose or damaged panels and posts to maintain structural integrity. Cleaning your fence annually with a gentle soap solution can remove dirt and mildew, keeping it looking fresh.
Reapply finish or stain as needed, depending on the wear and the product used. Different finishes have different lifespans, but refreshing the protective layer every few years can prevent premature aging and decay. Keeping vegetation trimmed back from the fence line also reduces the risk of rot and insect infestation.
We at Logan Fence Company hope this guide inspires and equips you to create the perfect boundary for your home. Should you need professional assistance or have any questions, don’t hesitate to reach out to us by phone at 435-383-5152 or Request a Free Quote online. Your dream fence is just a project away!