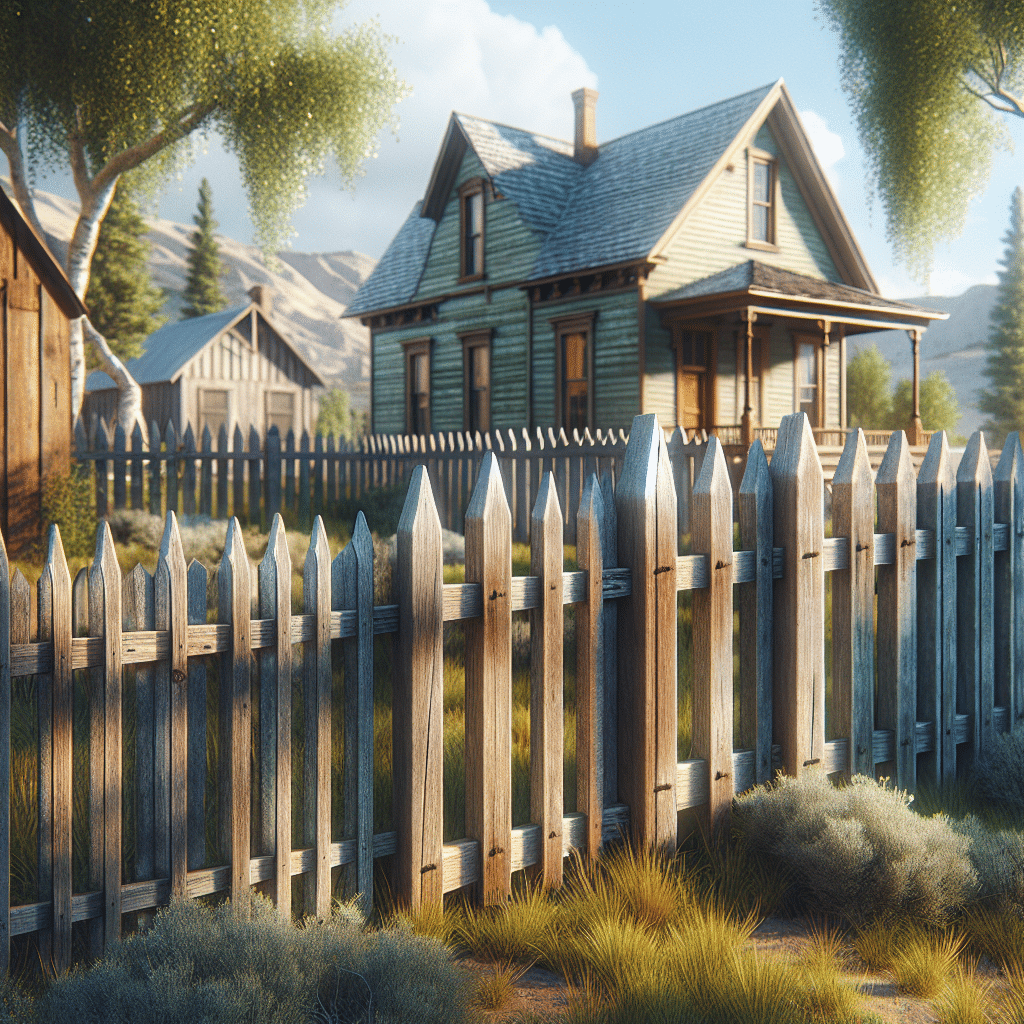
At Logan Fence Company, we understand the charm an old Wood picket fence can bring to your home. However, time and weather can take their toll, leaving your fence looking less than its best. Don’t worry, though! We’re here to guide you through the process of repairing and restoring your beloved fence, making it a proud feature of your property once again. Whether you’re a DIY enthusiast or a homeowner looking to refresh your outdoor space, this guide is designed just for you. Let’s dive in!
Contents
Assessing the Damage
Before diving into repairs, you first need to assess the extent of the damage. Walk along the fence and look for issues such as rotted wood, loose nails, and broken pickets. Take notes or pictures to keep track of the areas that need attention. This overview will help you prioritize repairs and gather necessary materials.
Checking your fence regularly helps catch problems early, saving time and money down the line. Identifying these issues lets you devise a solid repair plan. Once you’ve documented the damage, you can move on to gathering the right tools and materials.
Gathering Tools and Materials
Now that you know what needs fixing, it’s time to gather the tools and materials. A well-prepared toolbox will make the process smoother and more enjoyable. Common tools you might need include a hammer, nails, screwdriver, wood glue, and a saw. Don’t forget protective equipment like gloves and safety glasses.
A trip to your local hardware store may also be necessary to pick up new pickets, wood stain, or sealant. Having everything on hand before you start can make a world of difference, allowing you to focus on the task without interruption. Sharpen those tools and prepare for action!
Repairing Broken Pickets
When it comes to broken pickets, replacement is often the best solution. Remove the damaged picket by using a pry bar or claw hammer to lift it away from the rails. Be gentle to avoid damaging surrounding pieces. When installing a new picket, make sure it aligns perfectly with the others for a uniform appearance.
Use galvanized screws or nails to secure the new picket, as these are rust-resistant and will prolong the life of your fence. A little wood glue can also provide extra stability. Admire your work—one picket down, and many more possibilities to go!
Fixing Loose Nails
Loose nails can make your fence wobbly and unsightly. Fortunately, fixing them is straightforward. Start by removing the loose nails carefully with a hammer or pry bar. Replace them with longer, galvanized nails or screws to ensure a sturdier grip.
For additional stability, consider adding wood glue before nailing them in. This will help keep the pickets in place even in harsh weather conditions. A firm, secure fence is within your grasp!
Replacing Rotted Wood
Rotted wood is a common issue and often requires replacement. Begin by cutting away the damaged section with a handsaw. Be sure to extend your cut into the healthy wood to ensure complete removal of the rot.
Once you have a clean area, measure and cut a new wood piece to fit snugly into the gap. Secure it with nails, and you’ve just restored a section of your fence! Your fence is slowly coming back to life.
Sanding and Smoothing
Sanding is an essential step in preparing your fence for a fresh coat of stain or paint. It removes splinters and smoothens rough areas, making your fence safer and more attractive. Use a belt sander for large areas and a sanding block for detailed work around the pickets.
Take your time here; a well-sanded fence will hold paint or stain better, resulting in an even finish. You’ll be amazed at the transformation once you start sanding away the years!
Painting or Staining
Once your fence is smooth, it’s time to protect it from future damage with a coat of paint or stain. Choose a high-quality product designed for exterior wood surfaces. Paint offers a bold and vibrant look, while stain enhances the natural beauty of the wood.
Apply two coats, allowing each to dry thoroughly. You might find this process therapeutic as colors rejuvenate your fence. A well-colored fence exudes pride in homeownership!
Sealing for Protection
Sealing your Wood Fence provides an added layer of protection against the elements. A clear sealant or wood preservative can prevent moisture infiltration, reducing the risk of future rot.
Apply it with a paintbrush or sprayer for even coverage. Think of it as a shield that keeps your hard work intact for years to come. A sealed fence is a happy fence!
Regular Maintenance Tips
Maintaining your fence ensures it remains a beautiful feature of your home. Here are some key tips:
- Inspect Regularly: Conduct a monthly walk-around to spot potential issues.
- Clean Annually: Wash the fence with a mild detergent and water to remove dirt and mildew.
- Trim Vegetation: Keep plants and bushes away to reduce moisture exposure.
- Reapply Sealant: Consider resealing every two to three years for maximum protection.
- Repair Promptly: Address minor damages quickly before they become larger problems.
Conclusion
Repairing and restoring an old wood picket fence can be a rewarding project that enhances your home’s curb appeal. If you’d like professional assistance or have any questions, feel free to contact us at Logan Fence Company. Connect with us by phone at 435-383-5152 or Request a Free Quote today!